

Blog
How to Prevent Food Container Seal Leaks

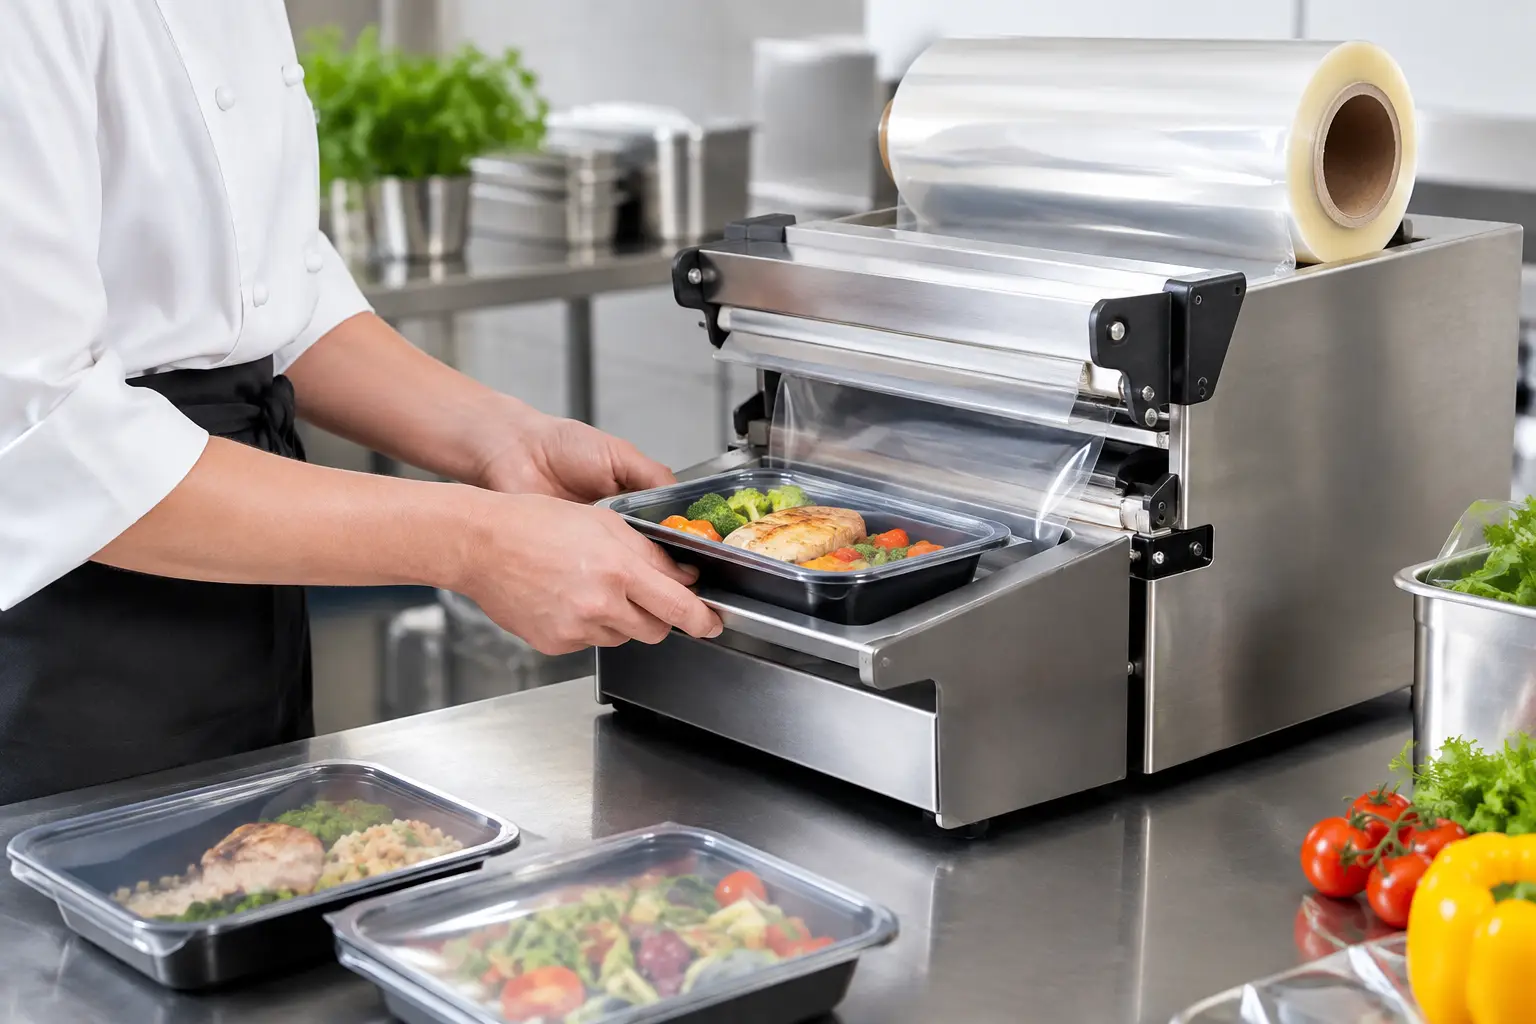
A leaking meal container can turn a well-prepared order into a refund, a poor review, or a cleanup problem for the customer. To prevent food container seal leaks, food operators need more than a sealing machine or a better-looking tray. They need a matched packaging system: the right container, compatible film or foil lid, controlled sealing settings, and a repeatable packing workflow. SmartPackingUSA helps food businesses build that system around their actual menu, tray dimensions, output needs, and delivery conditions.
For meal-prep kitchens, caterers, ghost kitchens, grocery prepared-food departments, and food manufacturers, seal performance affects far more than transport. A secure seal supports a cleaner presentation, keeps sauces where they belong, reduces product loss, and helps the packing line run with fewer interruptions. The goal is not simply to create a seal. It is to create a consistent seal on every tray.
Start With a Matched Container and Sealing Material
The most common cause of leakage is a compatibility problem. A container may look suitable, and a film may appear to fit, but a seal can still fail when the tray rim, material, and lidding material are not designed to work together.
Every tray material has different sealing characteristics. Plastic trays, CPET trays, aluminum containers, cardboard trays, and sugarcane or bagasse containers each require appropriate sealing films or foil lids. The sealing layer on the film must bond correctly to the container’s rim material at the available heat and dwell time. Using a generic roll of film across several tray types may seem convenient, but it often creates inconsistent results.
Container geometry matters just as much. The sealing surface should be flat, clean, and wide enough for the film to make full contact. A warped rim, an uneven molded edge, or a tray that does not sit correctly in the machine mold can leave small channels where liquid escapes. These defects may not be obvious at the packing station, especially when the meal is upright. They become obvious after the tray is stacked, tipped, or carried in a delivery bag.
SmartPackingUSA approaches leakage prevention as a complete packaging decision. Matching the tray sealing machine, container, mold, and film together helps eliminate the guesswork that comes from sourcing components separately.
Control the Conditions That Create the Seal
A tray sealer uses heat, pressure, and time to create a dependable bond. If one of those variables is off, the seal may look acceptable while failing under real handling conditions.
Heat must match the material
Insufficient heat can produce a weak bond that peels open easily. Excessive heat can distort certain containers, damage the film, or create a brittle seal. The proper setting depends on the container material, film structure, product temperature, and equipment design.
Do not assume one heat setting works for every menu item. A chilled pasta meal in a plastic tray may run differently than a hot entrée in a CPET or aluminum container. When introducing a new container or lidding material, run test seals before moving it into regular production.
Time and pressure need to be consistent
Dwell time is the period the heated sealing plate remains in contact with the tray. Too little time may leave incomplete bonding. Too much time can slow production and may negatively affect sensitive packaging materials. Pressure is equally important because the film must contact the full rim evenly.
Operators should follow documented machine settings for each approved tray-and-film combination. This is especially valuable on busy shifts, when a new employee is packing, or when multiple product lines use different formats. A short setup record posted near the machine can prevent costly trial and error.
Keep sealing surfaces clean
A single grain of rice, a drop of sauce, oil residue, or food trapped on the tray rim can interrupt the seal path. Wet, greasy, or overfilled trays are among the most frequent causes of leaks in prepared-food operations.
Build a final rim check into the packing process. Before a tray enters the sealer, confirm that the rim is clean and that food has not been pushed onto the flange. For saucy meals, leave adequate headspace and avoid filling directly to the rim. This small workflow change can reduce failures without changing the recipe or the packaging.
Prevent Food Container Seal Leaks at the Filling Station
The sealing machine gets attention, but many leakage problems begin before the tray reaches it. Filling practices determine whether the package can be sealed cleanly and transported without stress on the lid.
Portioning should be controlled. Overfilled containers can force food and liquid onto the rim, while very full trays can flex when stacked. That flexing puts pressure on the seal and increases the chance of a corner opening during delivery.
Consider the behavior of the food after packing as well. Hot foods can release steam and condensation. Oily foods can migrate around the tray. Acidic sauces, broths, and marinades are more likely to expose small seal gaps than dry products. A container that performs well for roasted vegetables may not be the right format for a soup-like curry or a heavily sauced protein.
For liquid-heavy items, use a tray style and fill level that provide a practical margin below the rim. Then test the finished pack the way customers will handle it: stack it, tilt it, refrigerate it, and place it in a delivery bag. A seal that survives a quick visual check is not necessarily ready for the route to the customer.
Make Sure the Tray Fits the Machine Mold
A tray must sit securely in the machine mold. If it rocks, shifts, or sits above the intended position, the sealing plate may not apply even contact around the entire perimeter. Corners are particularly vulnerable because they can lift slightly when the tray is not fully supported.
This is why machine and mold selection should be based on the exact container dimensions, not a close approximation. A custom mold or custom-size tray sealing machine may be appropriate when a business has a proprietary container, an unusual tray shape, or a branded packaging format that does not fit standard tooling.
For growing operations, this decision also affects speed. A correctly fitted setup gives operators a more repeatable loading process and helps maintain presentation as volume increases. Selected SmartPackingUSA tray sealing machine models can achieve production capacities of up to approximately 600 trays per hour with a single operator, depending on tray size, operator workflow, and production conditions. That output only helps when seals remain consistent at pace.
Inspect Seals Before They Become Customer Complaints
Quality checks do not need to slow the line. They need to be simple enough that the team actually performs them. At startup, after a film-roll change, after changing menu items, and at regular intervals during a shift, inspect several sealed trays.
Look for wrinkles crossing the seal area, unsealed corners, incomplete bonding, damaged film, distorted rims, and food caught beneath the lid. Lightly press around the perimeter to identify areas that lift or peel. For products with sauces or liquids, conduct practical handling checks that reflect your operation, such as gentle inversion or side positioning for a defined period.
When a failure appears, avoid treating it as an isolated bad tray. Check the whole system: tray condition, film orientation, roll tension, mold fit, sealing surface cleanliness, fill level, and machine settings. This method identifies the root cause faster than repeatedly increasing heat or pressure without a clear reason.
Protect Sealed Trays After Packaging
A strong seal can still fail if the packed tray is handled poorly. Do not stack hot trays too high before they have stabilized, particularly if the container material can flex under weight. Keep sharp tools, rack edges, and rough corrugated surfaces away from the film.
Delivery packing deserves the same attention as sealing. Trays should remain level when possible, with enough support in the bag or carton to prevent shifting. If containers are routinely packed on their sides, test them in that orientation before approving the format. Some foods and tray designs require a different packaging approach than others.
Storage conditions also matter. Refrigeration, freezing, reheating expectations, and the time between packing and consumption can all affect which container and lidding material make sense. The best system is the one that performs across the full path from production line to customer, not just at the moment of sealing.
Build a Repeatable Packaging System
Leak prevention improves when packaging is treated as an operating standard rather than a last-minute supply purchase. Use approved tray-and-film combinations, document settings, train operators on rim cleanliness and fill limits, and keep replacement materials consistent. When switching suppliers or introducing a new package style, test before making the change across the full production schedule.
SmartPackingUSA can help businesses evaluate containers, sealing films, foil lids, molds, and tray sealing equipment as one working system. Whether the need is a durable meal-prep tray, a branded lidding film, an eco-conscious container option, or a custom machine built around a specific container size, the right setup gives the production team more control over speed, presentation, and seal reliability.
The next time a container leaks, look beyond the lid itself. The fix may be a cleaner rim, a better fill level, a matched film, a properly fitted mold, or a more consistent machine setting. Solving the actual cause protects the order, the customer experience, and the reputation your food business has worked hard to build.
