
Blog
How to Seal Meal Prep Trays for Reliable Delivery

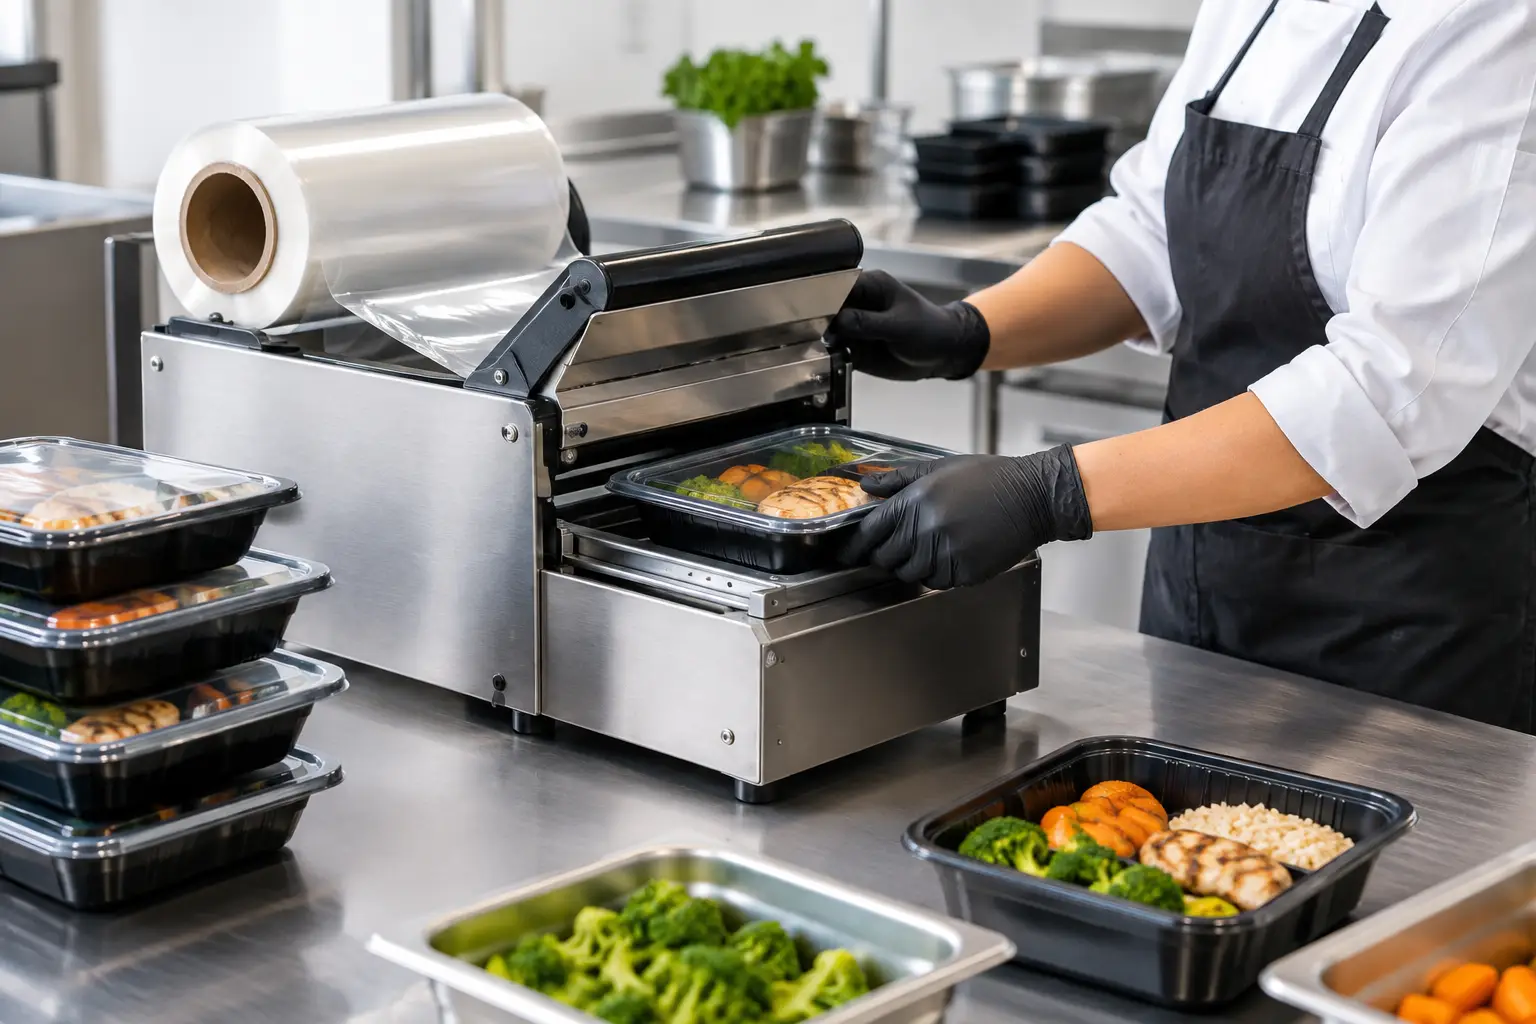
A meal can leave the kitchen looking excellent and still arrive looking careless if the seal fails. Sauce on the lid, lifted film corners, and trays that open in transit create avoidable remakes and damage customer confidence. Knowing how to seal meal prep trays correctly starts with treating the tray, sealing film, machine settings, and operator workflow as one packaging system. SmartPackingUSA helps food businesses build that system around the meals they produce and the volume they need to pack.
Start With a Compatible Tray and Sealing Material
A tray sealer cannot compensate for mismatched materials. Before adjusting heat or timing, confirm that the tray flange and sealing film are designed to work together. The flange is the flat rim where the film bonds to the tray. It must be clean, flat, dry, and fully supported by the machine mold during sealing.
Meal prep operations commonly use plastic, sugarcane, cardboard, CPET, or aluminum containers. Each material has different performance characteristics, and the matching film or foil lid must be selected for that specific container. A film that seals well to one plastic tray may not adhere properly to an aluminum or fiber-based tray.
Tray dimensions matter just as much as material. If the tray does not sit correctly in the mold, the machine may apply uneven pressure around the rim. That can create weak corners, channels where liquid escapes, or wrinkled film. For businesses using a nonstandard container size, a custom mold or custom-size machine configuration can be the more dependable route than trying to force a stock tray into an unsuitable setup.
How to Seal Meal Prep Trays Step by Step
The actual sealing process is straightforward once the packaging components are matched correctly. Consistency comes from following the same preparation and machine-loading routine on every tray.
1. Fill the tray without contaminating the flange
Portion the food with enough headspace to prevent the meal from pressing into the film. Do not overfill compartments, especially with sauced proteins, soups, dressings, or high-moisture sides. Product on the flange is one of the most common causes of incomplete seals because it interferes with the contact area.
Wipe the rim if food, oil, or condensation reaches it. This takes seconds, but it protects presentation and reduces leakage risk during stacking and delivery.
2. Place the tray squarely in the mold
Set the filled tray completely into the mold cavity. The tray should sit level, with the rim supported on all sides. If an operator has to push, bend, or repeatedly reposition a tray to make it fit, stop and check the mold and container dimensions. Forcing a container into place is not a production solution.
3. Pull the film flat across the tray
Bring the sealing film over the tray without stretching it excessively. Keep it smooth and centered. Loose film can wrinkle, while film pulled too tight can shift or tear during the sealing cycle.
For printed or branded sealing film, alignment also affects the finished presentation. A cleanly centered logo helps a prepared meal look retail-ready, not simply packed for transport.
4. Run the sealing cycle with validated settings
Close and operate the tray sealer according to the machine’s procedure. The machine applies heat, pressure, and dwell time to bond the film to the tray flange. The correct settings depend on the container material, film structure, tray size, food temperature, and production environment.
There is no single heat setting that works for every meal prep tray. Too little heat, pressure, or dwell time can leave a weak bond. Too much can distort a tray, damage the film, or create an unattractive seal line. Start with the recommended setup for your matched packaging materials, then run test trays before full production.
5. Inspect the seal before packing the batch
Remove the sealed tray and check the entire perimeter. A good seal should look continuous, even, and free from obvious wrinkles, lifted corners, gaps, or food caught in the bond area. Lightly press around the edge and visually inspect the corners, which are often where setup issues first appear.
If the package is intended for refrigerated or delivered meals, test a few trays under realistic handling conditions. Stack them, move them through the packing line, and check whether sauces or liquids migrate toward the rim. This practical check is more useful than approving a seal based on appearance alone.
Adjust the Process When Seals Are Inconsistent
When seals vary from tray to tray, the answer is not always to raise the temperature. Start with the simplest causes: contaminated rims, warped trays, uneven filling, incorrect film placement, or a tray that is not properly supported in the mold.
If the materials and loading steps are correct, review the heat, dwell-time, and pressure settings. Make one adjustment at a time and document the result. Changing several settings at once makes it difficult to identify what solved the problem.
Ambient conditions can also affect operations. Condensation is more likely when hot food is packed immediately, while cold trays may collect moisture in certain kitchen environments. The best workflow depends on the product. Some meals may benefit from a short settling period before sealing so steam does not interfere with the package appearance. Others need a faster pack-out schedule to protect quality and maintain production flow.
Build a Faster Meal Prep Sealing Workflow
For growing meal prep businesses, sealing quality and throughput are connected. A slow, inconsistent station creates backups, and rushed operators are more likely to contaminate rims or skip inspections. Organize the line so trays move in one direction: filling, rim check, sealing, inspection, labeling, and cold storage or dispatch.
Keep film rolls, spare trays, and cleaning supplies within easy reach, but away from open food. Train operators to identify common defects and pause the line when a pattern appears. It is more efficient to correct a film alignment or mold issue early than to discover a full batch of questionable packages after labeling.
Machine selection should match the pace of the operation. A manual or semi-automatic setup can be practical for lower-volume kitchens, while higher-output operations may need a system designed for sustained production. Selected SmartPackingUSA tray sealing machine models can achieve up to approximately 600 trays per hour with a single operator, depending on tray size, workflow, and production conditions. The right choice is based on more than headline capacity – it must fit the actual container, meal format, staff workflow, and available workspace.
Choose Equipment for the Meals You Actually Pack
A compartment tray for weekly fitness meals has different needs than a shallow catering entrée, a grocery-ready refrigerated meal, or packaged pet food. That is why equipment decisions should begin with physical samples of your trays and films, not a generic machine specification alone.
SmartPackingUSA supplies complete packaging systems that can include the tray sealing machine, compatible containers, sealing films, foil lids, custom molds, and branded film. This reduces the risk of sourcing a machine from one place, trays from another, and film from a third, only to find that the components do not perform well together.
For operators planning to scale, ask practical questions before buying: Can the machine accommodate your current tray dimensions? Can it be configured for the packaging materials you plan to use? How quickly can staff learn the process? What cleaning and maintenance steps are required between shifts? Is warranty coverage and post-purchase support available when production needs attention?
Stainless-steel construction, accessible controls, dependable mold fit, and clear operator training all contribute to a more manageable daily operation. Custom packaging projects may also make sense when your menu, branding, or container dimensions need something beyond standard options.
Keep the Seal Station Clean and Repeatable
Sanitation and repeatability support each other. Clean the mold area and sealing surface on a regular schedule, following the equipment guidance for your machine. Food residue, film buildup, and debris can affect how trays sit and how consistently the machine seals.
Use a simple shift-start check: confirm the correct film is loaded, inspect the mold, run sample seals, and approve the finished package before the line reaches full speed. At shift changes or after changing tray styles, repeat the check. A controlled start prevents small setup errors from turning into a packaging problem across hundreds of meals.
A dependable tray seal is not just a closing step. It is the point where portion control, packaging selection, brand presentation, and delivery readiness come together. If your team needs a machine, matched trays and films, or a custom packaging setup built around your operation, SmartPackingUSA can help you evaluate samples and create a system that keeps every meal looking as prepared as it was intended to be.
